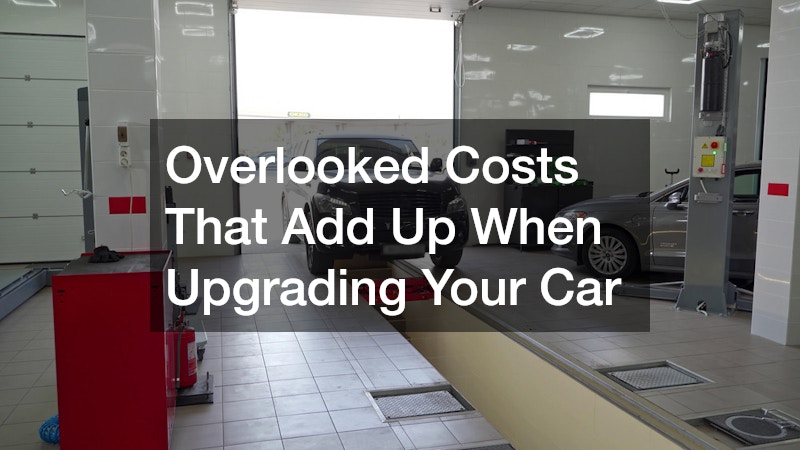

Upgrading a car feels straightforward until the invoice arrives. Most drivers budget for the headline item — the new wheels, the audio system, the performance tune — and stop there. What they miss are the secondary costs that trail every upgrade like shadows: installation labor, recalibration fees, insurance adjustments, and the cascade of compatibility issues that nobody mentions at the parts counter. These aren’t edge cases. They’re the predictable pattern of almost every aftermarket project, and understanding them before committing to an upgrade is the difference between a satisfying result and a budget that quietly doubled.
Installation and Labor — The Cost Behind the Cost
Parts pricing is visible. Labor is where estimates fall apart. A set of aftermarket coilovers might retail for $800, but the installation — which involves corner balancing, alignment, and potentially replacing worn suspension hardware exposed during disassembly — can add another $400 to $700 depending on the shop and the vehicle’s age. The same math applies to audio, lighting, and engine modifications.
What makes labor costs hard to predict is scope creep: the tendency for a job to expand once a technician is inside the vehicle. Rusted bolts, deteriorated gaskets, and wiring that doesn’t match documented schematics are common discoveries. Shops typically charge $90 to $150 per hour, and a job quoted at two hours can realistically run four.
DIY installation avoids labor charges but introduces its own costs. A torque wrench, trim removal tools, and a quality jack stand set represent $150 to $300 in one-time equipment. More importantly, an improperly installed component can void a warranty, trigger a check engine light, or create a safety hazard that costs far more to undo.
The practical check before any upgrade: request an itemized labor estimate, not just a parts quote. Ask specifically whether the shop charges for diagnostic time if complications arise, and whether alignment or recalibration is included or billed separately.
Recalibration, Compatibility, and the Electronics Problem
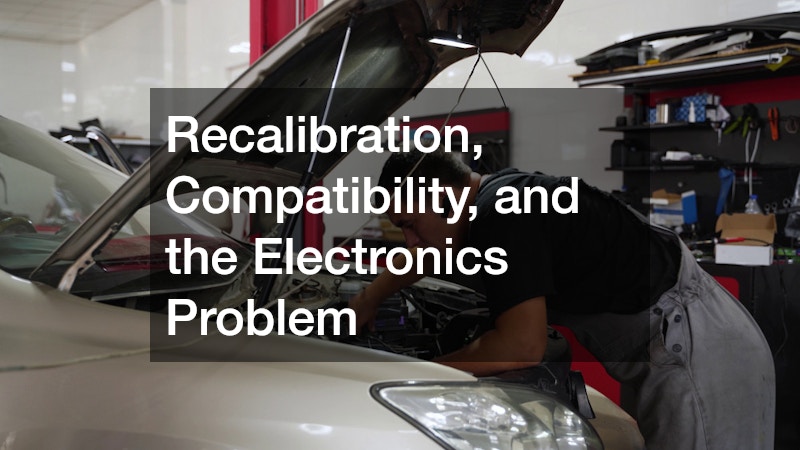
Modern vehicles are built around tightly integrated sensor networks. Upgrading one component often triggers a recalibration requirement somewhere else — and that requirement has a price tag.
Installing aftermarket LED headlights on a vehicle with automatic high-beam assist, for example, can confuse the camera-based system calibrated for the original bulb output. The fix isn’t just swapping bulbs back; it requires a dealer or specialist scan tool session to recalibrate the system, typically costing $150 to $250. Tire upgrades that change the rolling diameter — even by a few millimeters — can throw off speedometer readings and stability control thresholds. Correcting that often means a dealer reflash or a third-party tuner, adding another $100 to $300.
Compatibility issues compound this. Aftermarket parts are tested against a range of vehicles, not every build date and trim level within a model line. A cold-air intake designed for a 2019 model may physically fit a 2021 variant but conflict with revised MAF sensor calibration — triggering fault codes that require diagnostic time to resolve.
The comparison that matters here is between generic aftermarket parts and application-specific parts from established brands with documented fitment data. Generic parts are cheaper upfront — sometimes by 30 to 40 percent — but the risk of compatibility-driven rework erodes that savings quickly. Application-specific parts from brands that publish OEM-comparison data cost more initially but tend to install cleanly and hold calibration.
- Before purchasing, cross-reference the part number against your vehicle’s production date and build sheet, not just the model year.
- Budget at least $150 as a contingency for post-installation recalibration, regardless of the upgrade type.
- Confirm with the installer whether they have access to OEM-level scan tools before scheduling work on any vehicle newer than 2018.
Insurance, Registration, and the Legal Layer
Performance and appearance upgrades change how an insurer classifies a vehicle. Lowered suspension, engine modifications, and significant wheel or tire changes can push a car into a modified vehicle category, which some insurers price at a higher rate or exclude from standard comprehensive and collision coverage without a specific rider.
The gap between assuming coverage and confirming it is where drivers get hurt. A modified vehicle involved in an at-fault accident may find that the upgrade itself — not covered under the original policy — is excluded from the settlement. Some insurers will cover declared modifications at agreed value; others require a separate specialty policy. The annual premium difference between a standard and modified classification can range from $200 to over $600 depending on the modification type and the insurer.
Registration adds another layer. Tinted windows, exhaust systems, and lighting upgrades are subject to state-level regulations that vary considerably. An exhaust that passes a visual inspection in one state may fail a decibel test in another. Non-compliant modifications can result in failed registration renewals, fix-it tickets, or — in the case of lighting — roadside prohibition from driving the vehicle.
Security is a related but easily missed cost. Upgraded audio systems, custom wheels, and visible performance parts make a vehicle a more attractive target. Drivers who add a significant audio installation without updating their security system, or who keep a spare key poorly secured, often discover this the hard way. Calling an auto locksmith after a break-in typically costs $150 to $300 for an emergency visit — on top of the cost of the stolen parts themselves.
- Notify your insurer in writing before any modification that changes the vehicle’s performance envelope or visible profile, and request written confirmation of continued coverage.
- Check your state’s specific regulations for exhaust noise limits and window tint percentages before purchasing those upgrades.
Maintenance Costs That Outlast the Upgrade
The ongoing cost of an upgrade is the one that surprises drivers years after the initial excitement has faded. Performance tires, for example, typically wear 30 to 50 percent faster than all-season equivalents. If the replacement cost is $250 per tire and the upgrade demanded a set of four, that accelerated wear cycle adds hundreds of dollars per year to the vehicle’s operating cost.
Lowered suspension increases the frequency of alignment checks — roughly every 6,000 miles instead of every 12,000 to 15,000 — at $80 to $120 per visit. Aftermarket brake systems with higher-friction pads increase rotor wear and may require rotors be sourced from specialty suppliers rather than standard auto parts chains, at two to three times the price.
Cold-air intakes and performance filters require cleaning intervals every 12,000 to 15,000 miles using a specific cleaning kit ($12 to $20) rather than simple replacement — a task that’s easy to skip and, when skipped, results in restricted airflow and reduced gains.
The upgrade-versus-OEM comparison is worth revisiting here. OEM components are engineered to fit the vehicle’s maintenance schedule without modification. Many aftermarket upgrades introduce their own maintenance rhythms, which are easy to miss if the owner doesn’t specifically research them at purchase. The long-term cost of any upgrade is only honest when it includes those downstream service intervals.
Building the Full Budget Before the First Purchase
The real cost of a car upgrade is the sum of parts, labor, recalibration, insurance adjustment, compliance verification, and revised maintenance intervals — not just the sticker price on the component. Drivers who calculate all of these before committing tend to either proceed with a clearer understanding of what they’re absorbing or make a different choice about which upgrade to prioritize first.
A practical approach: build a one-page upgrade budget that lists the part cost, a labor estimate from at least two shops, a $150 to $250 recalibration buffer, confirmation of insurance status, and a per-year maintenance cost comparison against the OEM equivalent. When that full number is visible before any money changes hands, the decision becomes a real one rather than a pleasant surprise followed by regret.
About the Author