

A shiny coat of paint can hide a surprising amount of history, and a used car that looks flawless at first glance may have been through a serious accident. Learning to read the subtle clues in paint texture, panel gaps, and trim fit can save you from buying someone else’s expensive problem. You do not need to be a mechanic or a detailer to catch these warning signs, just patient eyes, good lighting, and a checklist. This guide walks you through exactly what to look for before you hand over your money.
Checking Paint Texture and Color Consistency
Factory paint is applied in a controlled environment and has a uniform texture across every panel, so any inconsistency is worth investigating. Step outside on a sunny day or under bright garage lighting and look at the car from several angles, since color mismatches often only appear when light hits the surface at certain points. Orange peel texture, which looks like the bumpy surface of citrus skin, is common in repainted panels because most shops do not replicate factory spray equipment exactly. Comparing adjacent panels side by side, such as a door next to a fender, makes subtle differences much easier to spot.
Pay close attention to panels that are slightly duller, glossier, or a shade off from their neighbors, since this often signals a repaint after an accident. Hidden areas like door jambs, the trunk interior, and under the hood near the fenders are harder to repaint perfectly and often reveal overspray or mismatched color. If a vehicle has gone through auto collision repair, these hidden zones are frequently the places technicians rush or overlook during refinishing. Bringing a flashlight to peer into these crevices takes only a minute and can reveal a lot.
Measuring Panel Gaps and Alignment
Every car rolls off the factory line with consistent, even gaps between panels like the hood, doors, fenders, and trunk lid. When a vehicle has been in a collision and repaired, those gaps can become uneven because panels were replaced, bent back into shape, or improperly reinstalled. Run your finger along the seams between panels and compare the width from one side of the car to the other, since a gap that is noticeably wider or narrower is a red flag. Doors that do not close flush or require extra force to shut properly often point to frame or alignment issues from past damage.
Take your time inspecting the hood and trunk lines, as these are common areas where misalignment becomes obvious once you know what to check. A hood that sits slightly higher on one side, or a trunk lid with an uneven reveal against the taillights, suggests the panel was replaced rather than original. These issues are not always dealbreakers, but they tell you the car has a repair history worth asking about.
- Compare gap width on both sides of the hood and trunk lid
- Check that doors open and close smoothly without rubbing
- Look for uneven reveals around headlights and taillights
- Examine where the bumper meets the fenders for consistent spacing
Spotting Overspray and Masking Lines
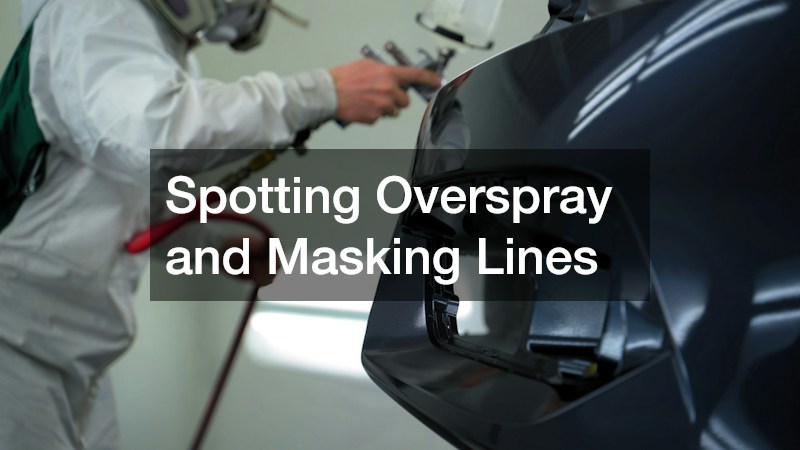
Overspray happens when paint drifts beyond the panel being sprayed and lands on rubber trim, glass, weatherstripping, or plastic components nearby. It is one of the clearest signs that a panel was refinished at some point, since factory assembly never produces this kind of bleed-over. Check the rubber seals around doors and windows, as well as the plastic trim pieces near wheel wells, for a faint dusting of paint that does not match the surrounding texture.
Masking lines are another giveaway, appearing as a crisp, straight edge where paint abruptly stops instead of blending naturally into an unpainted area. These lines often show up near emblems, trim pieces, or where two different colored materials meet on the body. If you notice tape residue or a slightly raised ridge of paint along an edge, it likely means a panel was masked off and painted individually rather than as part of the original factory process.
Examining Welds, Seams, and Frame Rails
Looking underneath a car and inside the engine bay can reveal structural repair evidence that paint alone will not show. Factory welds are typically uniform, spaced evenly, and finished with a consistent texture, while repair welds from an auto body shop can look rougher, inconsistent, or freshly applied compared to the surrounding metal. Checking the frame rails, radiator support, and strut towers for ripples, bends, or fresh seam sealer is especially important since these areas bear the brunt of front and rear impacts.
Rust patterns can also tell a story, since a frame rail with fresh undercoating in only one localized spot often means a repair was made there, while the rest of the car shows normal age-related wear. Bolts with scratched or chipped paint around the head suggest a panel was removed and reinstalled, which is common during structural repairs. If you find multiple signs clustered in one area, such as rough welds alongside mismatched paint nearby, that corner of the car likely absorbed a significant impact.
- Inspect strut towers and radiator support for ripples or bends
- Look for fresh undercoating or seam sealer in isolated spots
- Check bolt heads near fenders and the hood for scratch marks
- Compare weld patterns on both sides of the engine bay for symmetry
Using a Paint Thickness Gauge for Confirmation
A paint thickness gauge is an inexpensive handheld tool that measures the depth of paint and primer on a panel using magnetic or ultrasonic sensors. Factory paint typically falls within a predictable thickness range, often between 80 and 150 microns depending on the manufacturer, while repainted panels usually measure noticeably thicker due to added primer and clear coat layers. Testing multiple points on each panel and comparing the readings across the entire vehicle can confirm suspicions raised by your visual inspection.
These gauges are affordable, often costing less than a tank of gas, and are simple enough for anyone to use after watching a short tutorial. If one panel reads significantly thicker than the rest of the car, it is strong evidence that panel was refinished, even if the paint job looks flawless to the naked eye. Combining this tool with a visual inspection of gaps and welds gives you a much more complete picture than relying on appearance alone.
Reading a used car’s paint and panels takes a little practice, but once you know what consistent gaps, factory welds, and uniform paint should look like, inconsistencies become much easier to spot. Bring a flashlight, a paint thickness gauge, and a checklist with you to any inspection, and do not be afraid to walk away if something feels off. If you do find signs of prior repair, ask the seller for documentation and consider having a trusted mechanic take a closer look before you commit. A thorough inspection now can save you from costly surprises and give you confidence in the car you drive home.
About the Author